Intro
If you own a pair of Sennheiser PC360 headphones and are looking to give them some maintenance or perhaps even upgrade certain components, you’ve come to the right place. In this guide, we will walk you through the process of taking apart your Sennheiser PC360 headphones step by step. By following these instructions, you can ensure that you handle your headphones with care and precision, allowing you to make any necessary adjustments or repairs. Let’s dive in!
Preparing Your Workspace
Embarking on the journey of disassembling your Sennheiser PC360 headphones starts with the creation of an optimal workspace. It’s crucial to carve out a zone that’s not only clean but organized to an extent that every tiny component finds its rightful place without the risk of disappearing into the abyss of clutter. An ample, well-lit space is your canvas; here, you’ll layout the various parts of your headphones like a skilled technician ready for surgery. In your toolkit, a small screwdriver, tweezers, and a lint-free cloth are indispensable allies. These tools will aid in the delicate task at hand, ensuring each piece of your beloved headphones is handled with the finesse and precision it deserves. The stage is set, your tools are at the ready – the careful dissection of your Sennheiser PC360 headphones begins now, in the sanctuary of your meticulously prepared workspace.
Understanding the Structure of Your Sennheiser PC360 Headphones
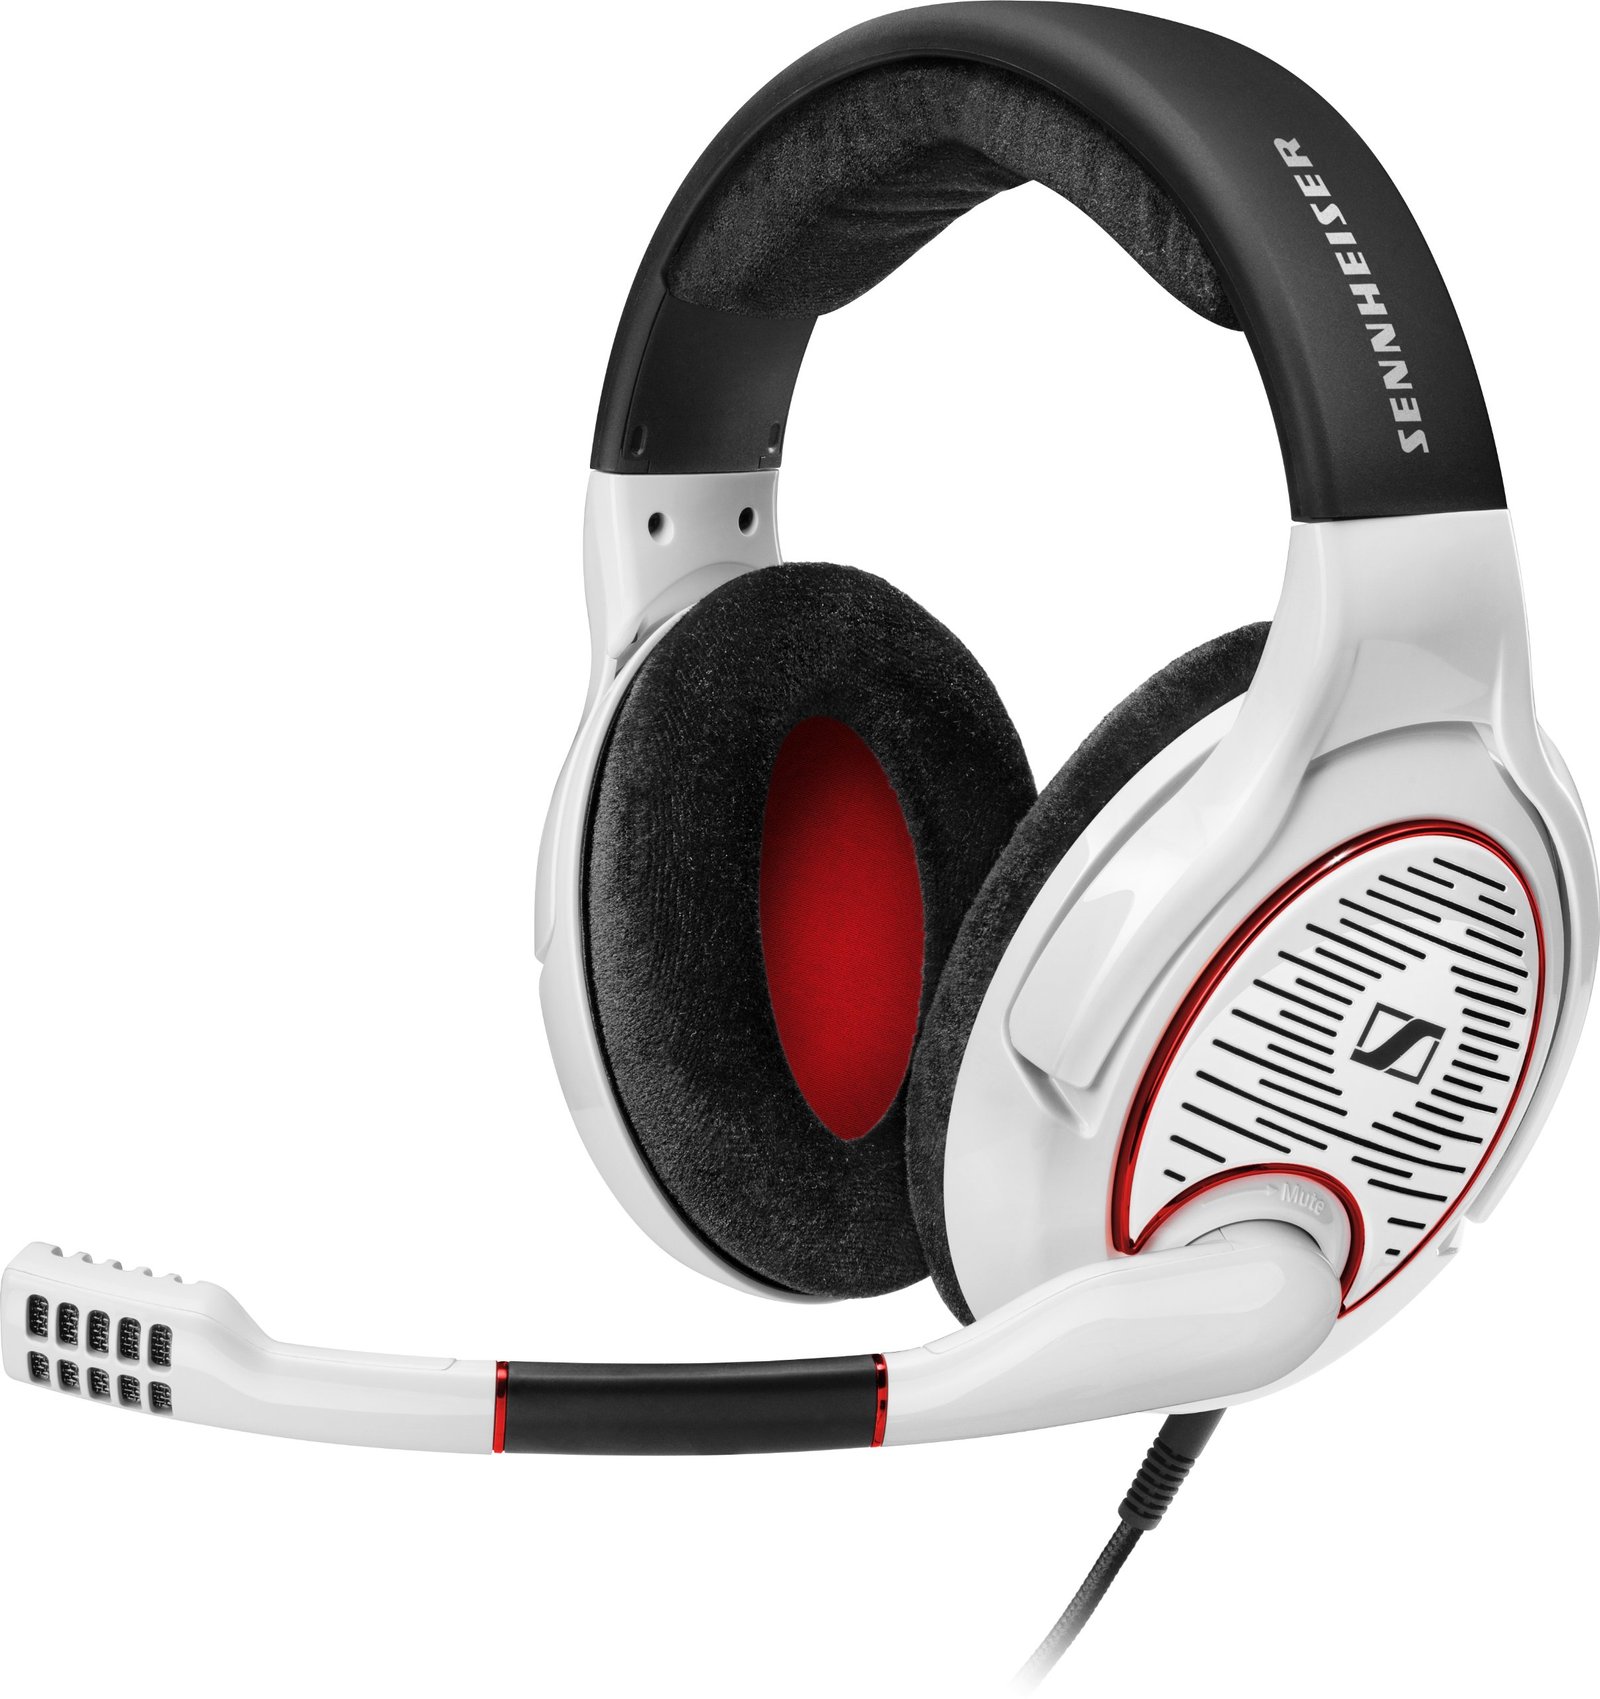
Diving into the anatomy of your Sennheiser PC360 headphones reveals a world of precision engineering and thoughtful design. Each component, from the plush ear pads that hug your ears in comfort to the robust headband that ensures a snug fit, plays a critical role in delivering the immersive audio experience Sennheiser is known for. The ear cups, which house the intricate drivers responsible for crisp highs and deep lows, are connected by cables meticulously engineered to transmit sound with minimal loss. As you prepare to navigate the disassembly, keep in mind the interplay between these elements. Recognizing how the parts coalesce into a symphony of sound not only aids in the careful disassembly but also in appreciating the craftsmanship behind your headphones. This foundational knowledge is your guidepost as you proceed to the next steps, ensuring a smooth and informed disassembly process.
Step-by-Step Disassembly Guide
Initiating the disassembly, approach the ear pads with care, peeling them away gently to avoid damage. Your next focus should be the screws anchoring the ear cups to the structure. Employ a screwdriver with precision to loosen and remove these screws. Following this, the ear cups should be eased away from the headband, ensuring not to pull too harshly and compromise the delicate wiring within. This action reveals the heart of the headphones, including the drivers and internal wiring, laying the groundwork for any maintenance or upgrades you plan to undertake. Each step is a move towards understanding and preserving the intricate design of your Sennheiser PC360 headphones, handled with the thoroughness and respect such craftsmanship deserves.
Identifying Common Areas That Require Attention
As you delicately navigate the disassembly of your Sennheiser PC360 headphones, it’s pivotal to zero in on segments prone to wear or impairment. Vigilantly scrutinize the wiring, looking for any indications of fraying or slack connections that could compromise audio fidelity. Similarly, examine the drivers meticulously for any signs of obstruction or debris that might distort the sound. These critical areas, if overlooked, can diminish the auditory experience, turning your meticulous disassembly into a missed opportunity for enhancement. Addressing these concerns promptly ensures the longevity and performance of your headphones, safeguarding the immersive sound landscape Sennheiser is celebrated for. This focused inspection is a cornerstone in the preservation of your device’s exquisite sound quality and overall functionality.
Tips for Keeping Your Headphones in Top Condition After Reassembly
Upon successfully reassembling your Sennheiser PC360 headphones, ensuring their longevity and performance hinges on adopting a meticulous care routine. Foremost, shield them from the harsh extremities of climate and moisture; such conditions are detrimental to the intricate electronics within. A protective case emerges as an indispensable ally, cradling your headphones during periods of inactivity. Moreover, a disciplined cleaning regimen, targeting the ear pads and drivers with a gentle, yet effective approach, can ward off the silent adversaries of dirt and debris. These subtle, yet impactful practices, serve as a bulwark, preserving the pristine condition of your headphones. Embrace these habits to extend the harmony and richness of your auditory experience, letting the meticulous craftsmanship of your Sennheiser PC360 headphones shine through with each use.
Troubleshooting Common Issues
Navigating the intricacies of your Sennheiser PC360 headphones can sometimes lead to unexpected challenges. Should you find yourself face-to-face with a technical puzzle that seems insurmountable, the path of wisdom leads to seeking expert assistance. Tinkering with delicate components without a clear understanding can inadvertently escalate a minor issue into a major complication. The landscape of headphones technology is vast and sometimes treacherous; a professional technician, with their seasoned expertise, can be your guide through this terrain. They possess the tools and knowledge to delicately maneuver through the problem, ensuring your headphones return to their optimal state. In this journey of maintenance and repair, knowing when to leverage the expertise of a specialist is a mark of true understanding and respect for the craft behind your Sennheiser PC360 headphones.
Reassembly and Testing
Embarking on the path to reassemble your Sennheiser PC360 headphones, it’s critical to approach each step with a blend of precision and mindfulness. Begin by aligning the ear cups with the headband, ensuring the screws and connections find their rightful places in a harmonious reunion. As you fasten the screws, a gentle hand is paramount—tighten firmly yet with restraint to prevent any undue strain on the delicate components within. This moment is not merely about reconstruction but about restoring the headphones to their full auditory glory.
With the structure now intact, the next pivotal phase is testing. Connect your headphones to a trusted audio source and immerse yourself in a sound test that spans a variety of frequencies and volumes. This isn’t just a technical checkpoint; it’s an experiential confirmation that your careful efforts have paid off, that the intricate symphony of sound Sennheiser is revered for flows once again, unimpeded. Through this process, you not only reaffirm the functional integrity of your headphones but also rekindle your personal connection to the music and sounds they deliver.
Reassembling Your Sennheiser PC360 Headphones
Gently align the ear cups with their positions on the headband, ensuring each component finds its perfect spot, reminiscent of the final pieces of a puzzle coming together. As you secure the screws, do so with a cautious and deliberate touch, mindful of the balance between a snug fit and the well-being of the delicate components nestled within. This process is not just about rejoining parts but about revitalizing the intricate system that allows your Sennheiser PC360 headphones to produce the rich, immersive sound you cherish. Every action you take in this phase is a step towards restoring the harmony between technology and craftsmanship, a balance that defines the essence of your headphones.
Final Adjustments and Cleaning
As you stand on the precipice of completion, poised to reintegrate into the world of sound with your Sennheiser PC360 headphones, it’s crucial to undertake final adjustments and a cleaning ritual. Adjust the ear cups for a comfortable fit that feels like the headphones were tailored just for you, ensuring an optimal audio experience. With the physical reassembly complete, your focus should shift to aesthetics and hygiene. Utilize a damp, lint-free cloth to gently wipe away any fingerprints, dust, or residues that have gathered on the external surfaces of your headphones. This act, while simple, is a profound gesture of care, preserving not only the visual appeal but also the tactile satisfaction of your device. This meticulous cleaning ensures that when you next embrace the soundscape offered by your headphones, it is not marred by visual distractions or tactile discomforts. Engaging in these final touches, you bridge the gap between technical maintenance and the holistic enjoyment of your audio experience, ensuring your headphones are not only functional but also a pleasure to use and behold.
Conclusion and Best Practices
In closing, delving into the inner workings of your Sennheiser PC360 headphones not only nurtures a deeper understanding but also fosters a more intimate connection with your device. The journey of disassembly and reassembly, guided by careful steps and vigilant maintenance, ensures the longevity and optimal performance of your cherished audio companion. Embrace this process with both curiosity and reverence for the engineering marvel that rests in your hands. By adhering to the best practices shared, your headphones will continue to deliver the exceptional sound quality that Sennheiser is celebrated for, enriching your auditory experiences for countless moments to come. Let this guide be a testament to the art of meticulous care, urging you to approach each interaction with your headphones as an opportunity to enhance both their functionality and your enjoyment.